Over last weekend, finished the welding on the battery box and both sides of the front panel that the radiator bolts to...treated everything with Ospho and actually primed 3/4 of the engine compartment. Unreal, it's the first thing in a long time that I've done to the car that wasn't taking something off.
I'm hoping to take vacation again this Friday and will try to accomplish some more. I just won an auction on eBay for a NOS front valence, which as you can see from the pictures Chrissy needs pretty badly...
Gotta get her on the road!
Jamie
Tuesday, February 13, 2007

Friday, January 19, 2007
Pictures from recent work
 The first couple of pictures show the metal as it was left by the previous "bodyman." Actually, that's not quite true as I had already done the rough straightening before I took these pictures.
Picture 1 shows the radiator support panel, now roughly straightened and welded back together, along with the back side of the "nosecone." You should also note the cut in the grille support thoughfully supplied by the previous "bodyman."
Picture 2 is a shot of the same area on the other side of the car from a more vertical angle. You can also see the holes left in the support. These will be stabilized and fixed.
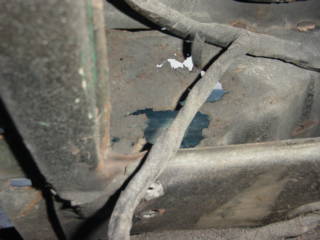

Picture 3 is the battery tray after A LOT of pounding and welding. I still have a few pinholes to fix here.
 Picture 4 is another shot of the area in picture 1.
Picture 5 is another shot of the sliced grille support. It will be re-welded after reshaping the opening is complete.
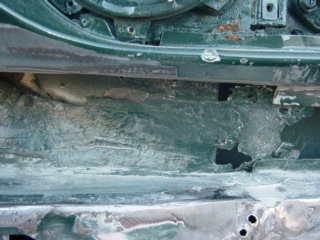 Picture 6 shows the area under the LH headlight. The fine, smooth surface you see was deemed enough by the previous "bodyman" and was left for painting. Needless to say, it won't stay that way.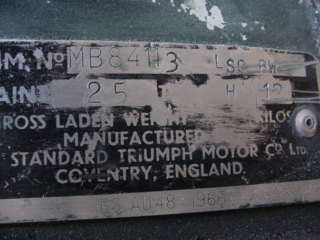
Pictures 7 and 8 show the commission plate and the two body number plates. I found the upper body number plate interesting...especially the low number, 51. Any idea if this plate was fitted to special order cars like this one?

Hope you've enjoyed the latest look...I hope to get back to the car in a few weeks!
Finally, a little progress!
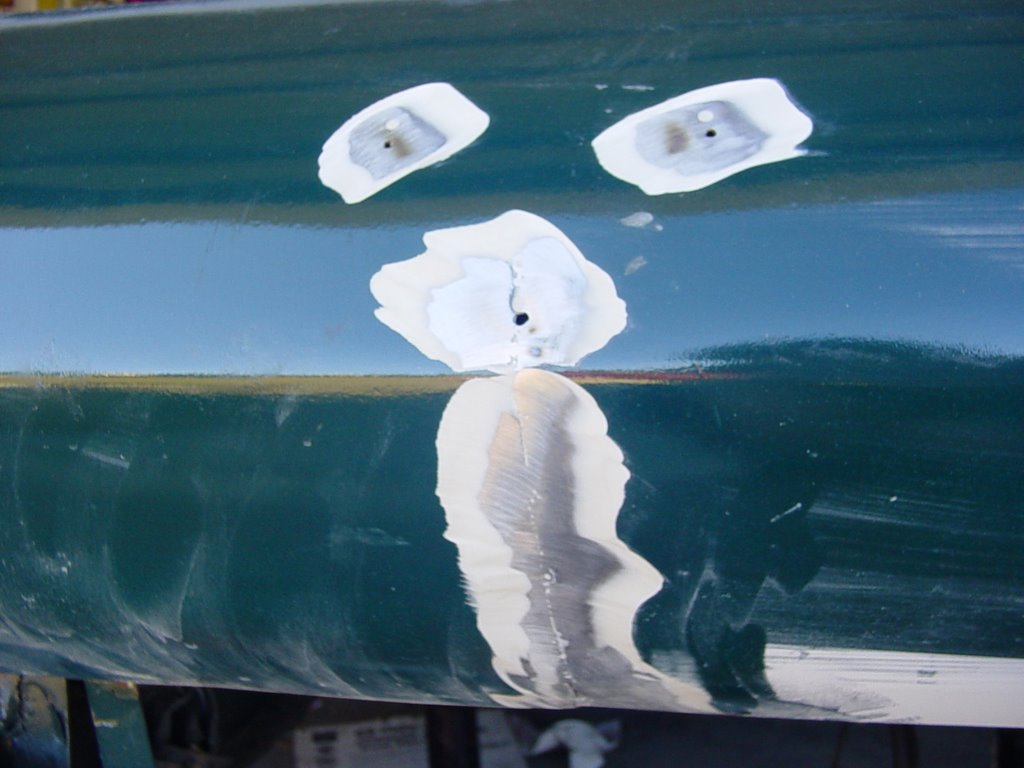
I can't say there's a lot that's been going on with the estate lately. Between my new job and a lot of sickness in the family, plus the holidays, there just hasn't been a lot of time. I did find about four hours to work on the car between Christmas and New Years, though. After finding out that the "new" nose that had been put on the car was installed over some...less than pristine (diplomatic enough?) bodywork, I kept going. Managed to weld up most holes, still have a little to go, bent the battery tray and radiator support panel back into shape, and did the rough reshaping of the grille opening necessary to fit the grille back in! Apparently, it was a better idea at the time to flatten the grille instead of making sure the opening was the stock height. Consequently, I've used a scissors jack and some planks to jack the opening back to it's correct height (!). The pictures tell the story...
Tuesday, September 26, 2006
Mock Dash Layout
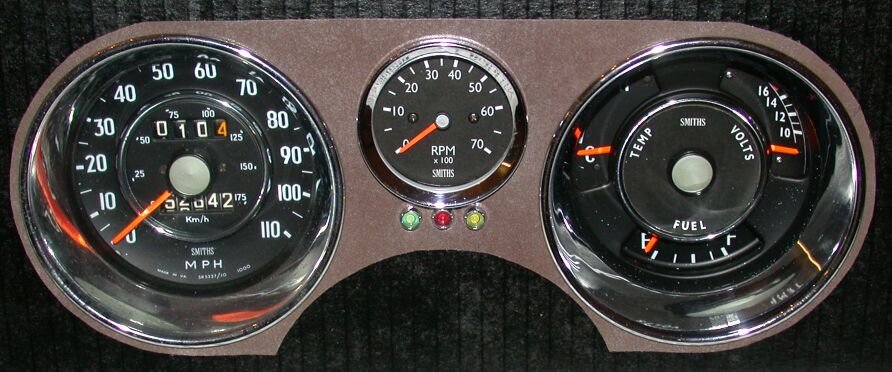
Doug's been busy again. At the same time that I was trying out a pattern for the "new" gauge section of the dash, he was putting the reworked gauges into a mock dash setup for my approval. Needless to say, he got it!
Tuesday, September 12, 2006
Time for an update!

From left to right:
Existing speedometer, cleaned up
Tach, created from scratch including "SMITHS" face
Triple gauge, with voltmeter replacing amps.
WOW!
And these aren't even the real faces yet...just paper copies temporarily placed.
I can't thank Doug enough. Next, we're (he's...I'm just support) taking on converting one of the rectangular MGB oil pressure gauges to look like these and mounting it where the ash tray used to be...
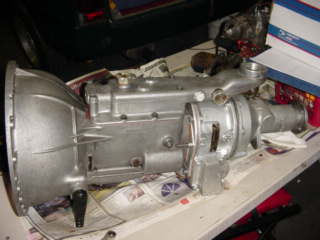
Here's the picture of the finished transmission I forgot to take and load last time...
Believe it or not, this is the rusty remnants of the pins and spring clips that held the pads in place in the Stag calipers. You can imagine what the calipers looked like. They've been cleaned, I've bought some used but good pistons to replace the corroded originals that have been removed, and I'm awaiting a seal kit to try to rebuild the calipers. We'll hope that I can get by with a rebuild as a professional sleeving job is really expensive (although nice!).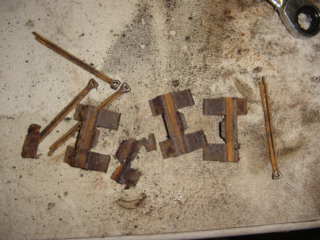
Finally, here's the gutted engine compartment. I have to decide what color the car will eventually be before putting the engine in so that I can paint this properly. Right now, since I must stay with the red interior, I'm leaning towards a creamy white or dove gray (grey?). Any votes out there, or other suggestions???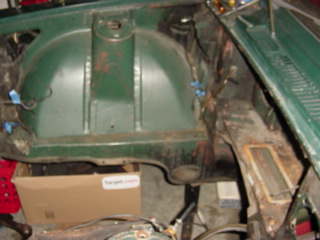
Jamie
Subscribe to:
Posts (Atom)
.JPG)

 Posts
Posts

